

Hi Crochet Friends!
This pattern is for the easy crochet pom pom hat.
Are you more of a visual learner? Well you can find the video tutorial here.
If you are more of a reader, the written pattern is below! This pattern is suitable for newborns up to adult size. There is no specific number of chains needed to make this hat – we are going on measurements. I have included a handy size chart for you to refer to if needed.

Supplies (contains affiliate links) –
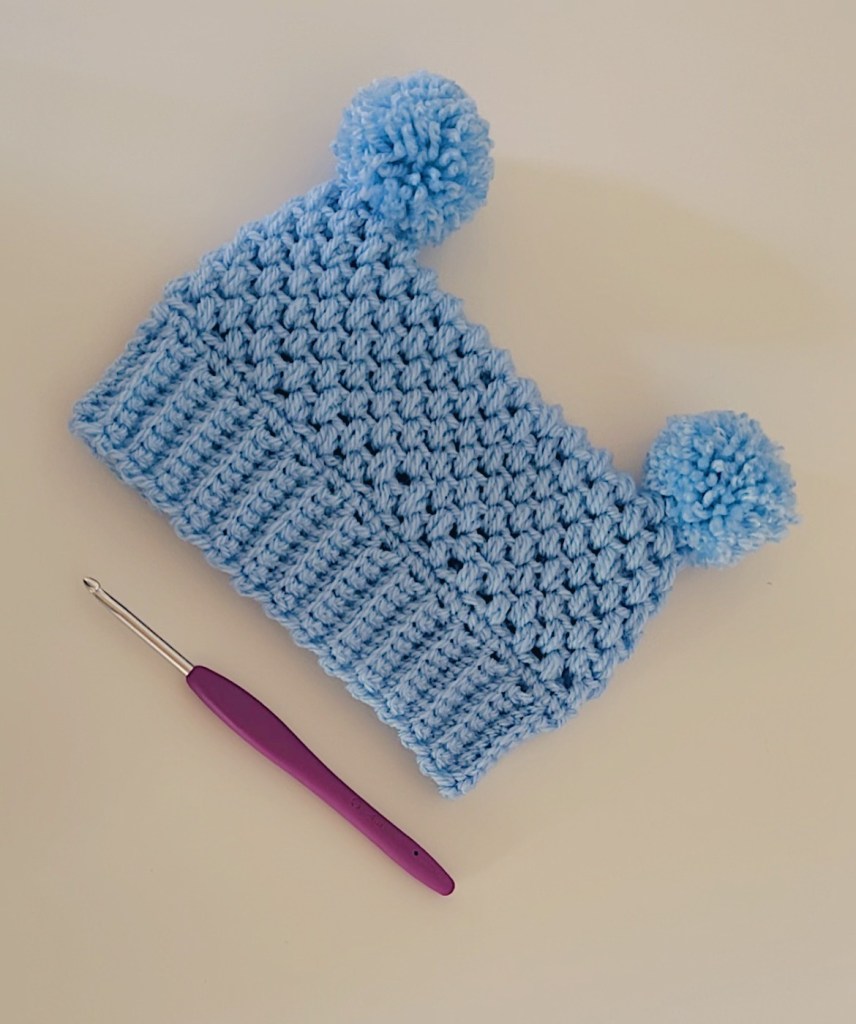
- Yarn of your choice (I used Stylcraft Special DK in Cloud Blue)
- 3mm/size H Clover Amour crochet hook
- 4mm/size G Clover Amour crochet Hook
Pattern (UK Terms)
- We are going to start with the bottom band part of the hat. Have a look at the size chart above to determine what size (circumference) you want your hat to be. The band part of the hat is worked in rows and then we will turn it to work the main part of the hat (if this sounds confusing then please watch the video linked above as this is more of a visual reference!).
- A chain 1 does not count as a stitch when turning.
Round 1 – Chain (Ch) your brim to the WIDTH that you would like it to be. Once you have reached the desired size add 2 extra chains (for my hat, I made the newborn size and chained 7 +2, so 9 chains in total)
Round 2 – Double crochet (DC) into the second chain from the hook and then into each chain space until you reach the end of the row. Ch 1 and turn (does not count as a stitch).
Round 3 – DC into the first stitch of the round. DC into the back loop only (DCBLO) until you have 1 stitch left. Into the last stitch we are going to place a regular DC (not a DCBLO). Ch1 and turn.
Round 4 Onwards – Repeat round 3 until you reach your required circumference (see size chart above). Put the 2 ends of your work together and join with slip stitches. Do not cut your yarn. From now on we are going to be working in the round, around the brim of the band.
Main Body of the Hat
Round 1 – Chain 1 and DC back into that space. DC around the band of the hat. Keep count of your stitches as you will need to ensure that you have an even number of them when you get back to where to started. Try to keep your stitches evenly placed (I did one DC per row). Slip stitch (SS) into the first DC to join. Ch 1 (does not count as a stitch).
Round 2 – Mini bean stitch into the same space that you SS into from the previous round (a mini bean stitch is insert hook, pull up a loop, yarn over, insert hook pull up a loop (4 loops on your hook), yarn over and pull through all 4 loops). Ch1 to secure your mini bean stitch. Miss one stitch from the previous round, mini bean stitch into the next stitch. Continue this all the way around until you reach where you started from. SS into the top of the very first mini bean stitch that you made at the start of the round, chain 1. DO NOT TURN – we are working in the round.
Round 3 – From now on we are going to be working into the ch1 spaces from the previous round. *Mini bean stitch into the ch 1 space from the previous round, chain 1*. Repeat *-* until you reach where you started from. SS into the top of the very first mini bean stitch that you made at the start of the round, chain 1.
Round 4 onwards – Repeat round 3 until your hat reaches the desired height (mine measured 11 cm from brim to top). Ch 1 to secure. DO NOT CUT YARN as we are going to join up the top of the hat.
Joining the hat – Turn your hat inside out (this will give a neater finish for the end result. Place the 2 edges together and join using slip stitches in the BLO. When you reach the end fasten off and cut your yarn.
Finishing – Sew in all of your ends and turn your hat back to the proper side. Attach a pom pom in each of the 2 corners.
Ta Da!!!
Your hat is now finished! I love to see your work so don’t forget to tag me in your instagram pictures (@Lexie_Loves_Stitching).
Happy Crocheting!

