The Magic Knot

Hello Everyone!

Have you ever struggled to attach new yarn or wondered how to change colours?? Well have no fear, the magic knot is here to help you!  It is so easy and simple and you will be changing colours in no time!  Have a watch of the video below to see how its done!


I love to see your makes so don’t forget to tag me on Instagram – @Lexie_Loves_Stitching

Take care and happy crocheting!

Screen Shot 2017-10-17 at 16.08.44

Advertisement

Sew a Book Sleeve

Hello Everyone

As well as making things I also love to read.  I hate it when I carry my book in my bag and the front cover gets damaged and pages get creased.  I have come up with a super easy pattern for a book sleeve.  This project is suitable for beginner sewers and also makes an easy project for kids to have a go at.

Screen Shot 2018-10-10 at 14.13.38


Find the video on how too make your book sleeve here –


I love seeing your makes so don’t forget to tag me in them on Instagram @Lexie_Loves_Stitching

Happy Sewing!

Screen Shot 2017-10-17 at 16.08.44

Easy Crochet Friendship Bracelet

Hi Everyone!

Its been ages since I have done a blog post! I’ve been really busy with my University course and have had loads of work to do so I haven’t been blogging as much as I should at all!

Anyway, I have come up with a really east and super quick make that even the kids can do and will soon be making lots for their friends.  Find the video here –

I love to see all your makes so don’t forget to tag me in your pictures on Instagram – @Lexie_Loves_Stitching.

Take care and happy crocheting!

Screen Shot 2017-10-17 at 16.08.44

Yarn Giveaway!!!

Hello everybody and welcome to my blog!

Last weekend I sorted through my out of control yarn stash and thought that I would love to pass on some Crochet pixie dust to one lucky winner!  The haul you can win contains some amazing yarn from TB Ramsden and 4 skeins of Sirdar DK. To win this yarn haul, you need to head over to my You Tube channel, subscribe to my channel, like the video and leave a comment in the comments box. For an extra chance of winning, head on over to my Instagram page, give me a follow and comment on the Yarn Giveaway post! The link to my Insta account is below. I will draw the winner next Sunday (04/02/18). I will ship worldwide so where ever you are in the world, feel free to enter!

screenshot_20180128-1643111.png


You can find the yarn haul video here – 

Other places to find me Facebook – https://www.facebook.com/LexieLovesStitching OR https://www.facebook.com/groups/Crochetbeginnersgroup

Instagram – https://www.instagram.com/lexie_loves_stitching

Find the amazing range of yarn from TB Ramsden here -https://www.tbramsden.co.uk Happy Crocheting!

Screen Shot 2017-10-17 at 16.08.44


Super Easy Cowl/Infinity Scarf

20171022_201449.jpg

Hello Everyone!!

Welcome to my Super Easy Cowl/Infinity Scarf tutorial!  This is the most easiest pattern ever and can easily be worked up in an afternoon.  Lets grab a cup of tea and get crocheting!


For this project, you will need – 

  • 2 100g balls of Robin Chunky (I used shade 111)
  • 5.5mm Crochet Hook


20171022_151828.jpg


To Begin – Chain 24

20171022_152029.jpg


Round 1 – Treble crochet (tc) into fourth round from the hook and continue to tc into each stitch until you reach the end.

Round 2 – Chain 3 and turn your work. Tc into the same stitch as your chain 3, skip 2 stitches then 3tc into the next stitch.  Continue working the skip 2 stitches, 3tc into the next stitch until you have 3 stitches left.  Skip 2 stitches then 2tc into the final stitch.  (22 Stitches)

Round 3 – Chain 3 and turn your work. 1tc into each stitch along.  Be careful not to tc into the stitch that has your chain 3 in it.  You want to tc in the stitch indicated below.  (22 Stitches)

20171022_153132.jpg


Round 4 –  Chain 3 and turn your work. Tc into the same stitch as your chain 3, skip 2 stitches then 3tc into the next stitch.  Continue working the skip 2 stitches, 3tc into the next stitch until you have 3 stitches left.  Skip 2 stitches then 2tc into the final stitch.  (22 Stitches)


20171022_153755.jpg

Round 5 – Chain 3 and turn your work. Tc into the same stitch as your chain 3, skip 2 stitches then 3tc into the next stitch.  Continue working the skip 2 stitches, 3tc into the next stitch until you have 3 stitches left.  Skip 2 stitches then 2tc into the final stitch. (22 Stitches)

Round 6 Onwards – Keep  repeating rounds 4 and 5 until your scarf reaches the desired length (I like it so it can wrap around me twice, but I can still breath ha ha!).  Make sure that you end on a round 5 round.  To join your scarf together simple, place the 2 ends together on top of each other and slip stitch together.

TA DA!!!!! You have finished your scarf!!!!

Thanks to the gorgeous Megan Daisy for being my model!  Let me know how you get on with your make and feel free to message me if you have any issues with the pattern.

Take care and lots of crochet love

Screen Shot 2017-10-17 at 16.08.44

Spooky Halloween Crochet Pumpkin!!

imagesHello everyone and welcome to my extra spooky Halloween blog!

Halloween is definitely one of my favourite times of the year.  Cosy nights in under a blanket (crocheted of course), a mug of chai latte and a nice spooky horror film or two.  In fact, sometimes I think that Halloween is better than Christmas!  With the leaves falling off the trees it reminds me of new beginnings and starting again.  So what better a way to celebrate this lovely season than crocheting your very own pumpkin!! This is a simple pattern that it suitable for beginners. Without further ado, grab your hook, yarn (& cup of tea) and lets start crocheting!!

For this pattern you will need –

  • 100g Robin DK Yarn Shade Jaffa (63)
  • 100g Robin DK Yarn Shade Apple (16)
  • 4mm Crochet Hook
  • Toy Stuffing
  • Yarn Needle
  • Stitch Marker (optional) 

20171016_110700.jpg

This pattern uses UK TERMS and instead of a magic circle (yuck ha ha!!) we will use the chain method.  This Pumpkin is crocheted in the round.  You may want to use a stitch marker to place in your first stitch of each round so that you can keep your stitch count accurate.

To begin chain 2

20171016_124623.jpg

Round 1 – 10 Double crochet (dc) into the first chain.

20171016_124943.jpg

Round 2 – 2 double crochet (2dc) into each of the dc from the previous round (20 stitches).

20171016_132008.jpg

Round 3 – dc into each stitch from round 2 (20 stitches)

20171016_132028.jpg

Round 4 – 2dc into each stitch (40 stitches)

20171016_132653.jpg

Round 5 to 8 – dc into each stitch (40 stitches in each round)

20171016_133927.jpg


Round 9 – Double crochet 2 together (dc2tgr) all the way around (20 stitches).  If you are not sure how to do this stitch, find a helpful YouTube video at the end of the pattern.
20171016_134547.jpg

Round 10 –  dc in each stitch (20 stitches).  Start adding some stuffing to your pumpkin.

Round 11 – dc2tgr all the way around (10 stitches). Add some more of the stuffing.

20171016_135208.jpg

Round 12 – dc2tog all the way around (5 stitches) then dc into opposite stitch in order to close the hole. Tie off  your work leaving an extra long tail (40cm or more).

20171016_135354.jpg

Thread your yarn needle to your long end. Insert your needle from the middle of the bottom of the pumpkin to the middle of top. Insert the needle from the middle of the bottom of the pumpkin to the top again and pull tight on the yarn (this will make your indentations) Continue this 8 times making the spaces even. Tie off.

For the leaves:

Using green yarn

To Begin – Chain 2

20171016_140657.jpg

Round 1 – 8dc into first chain of the foundation chain and slip stitch into the first dc of the round to join.

20171016_141358-1.jpg

Round 2: *chain 3, skip a stitch,  slip stitch (ss) into next stitch*  repeat * to * 4 times. Connect and tie off leaving a long end.

20171016_141652.jpg

Sew onto the pumpkin and hide your ends.

Ta Da!!!!! You now have your very own Pumpkin!!  Let me know how you get on with your makes and feel free to share on Instagram, just use the hashtag #lexiespumpkin

For those of you who don’t know how to double crochet 2 together, heres a quick video.


my newhome!


Super Easy Crochet Slippers

20170918_133531

Hello everybody and welcome back to my blog!  In this weeks Easy Crochet series we are going to be making some Super Easy Crochet Slippers.  Using a large hook and super chunky yarn means that these beauties will work up in no time at all.  The pattern below is for Adult size 4/5.  If you need a bigger size, simply use a 12mm hook instead of a 10mm.  These would make a lovely Christmas present or (if you’re like me), you can’t bare to part with your makes, they will keep your feet lovely and toasty through those cold winter months.  This pattern uses UK terminology.  So, grab a cup of tea, get into your favourite crochet spot and lets get started!

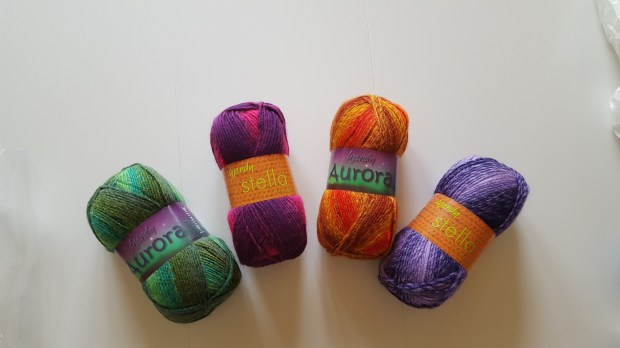
FOR ONE PAIR OF SLIPPERS YOU WILL NEED –

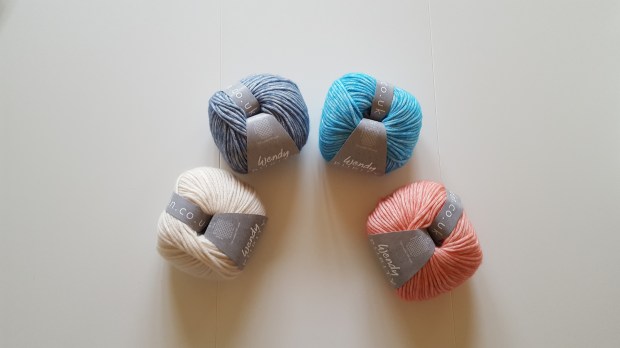
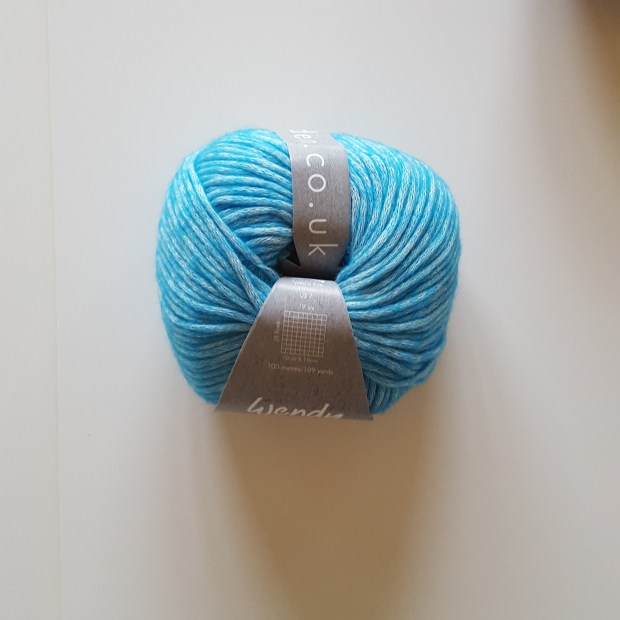
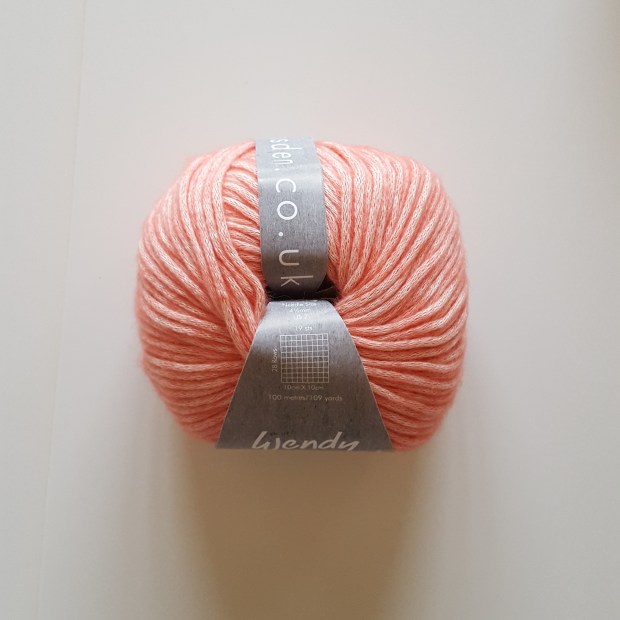
  • 100 gram Skein of Robin Paintbox Splash Super Chunky
  • 10 mm (size N) Crochet Hook
  • Yarn Needle
  • Scissors
  • Pom pom Maker (Optional)

fullsizeoutput_22

To start – Chain (ch) 16

fullsizeoutput_23


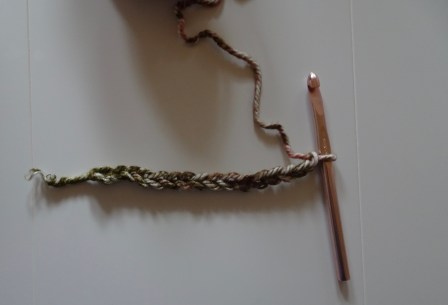
 Round 1 – Half treble crochet (htc) in the 3rd chain from the hook (the two skipped chains do not count as a hdc, these are purely to give you length in your yarn to allow your first htc), 1 htc in the next 12 stitches , 3 htc in last chain space, turn and work the following stitches back around the other side of your chain, 1 htc in the next 12 stitches, 2 htc in next chain, slip stitch (sl st) to join to your first htc (make sure that you don’t sl st to the 2 chain spaces that you skipped at the very start of the round).  At the end of this round you should have 30 htc.


Round 2 – Chain 2 (this counts as 1 htc), htc into the same stitch as you chained from, 1 htc into the next 7 stitches, 1 treble stitch (tr) into the next 5 stitches, 2 tr into the next stitch, 3 tr into your next stitch, 2 tr in next stitch, 1 tr into the next 5 stitches , 1 htc into the next 7 stitches, 2 htc into each of next 2 stitches, sl st to join.

DSC07577


Round 3 –  Ch 1, working in back loops only, double crochet (dc) in each stitch all the way around, sl st to join.


Round 4 – Ch 1, dc into the same stitch, 1 dc into the next 12 stitches, double crochet 2 together (dc2tog), treble crochet 2 together (tc2tog) 4 times,  dc2tog, double crochet into the next 13 stitches, sl st to join.


Round 5 – Ch 1, starting in same stitch, dc2tog, 1 double crochet into the next 9 stitches, dc2tog,  tc2tog 2 times, dc2tog, 1 double crochet into the next 9 stitches, dc2tog, sl st to join.


Round 6 – Ch 1, dc into the same stitch, 1 double crochet into the next 9 stitches, dc2tog, tc2tog, dc2tog, 1 double crochet into the next 10 stitches, sl st to join. Finish off and weave in your ends (yes its tedious but so necessary!).  Give yourself a huge cheer!!!! You have finished your slipper!  Now repeat all these steps in exactly the same way to create your second slipper.


For that little extra touch why not add a pom pom to the front of your slippers.


If you want to make the soles of your slippers less slippy than you can always add some Sock Stop to the sole.  Simply dot on and then leave to dry overnight!


I hope that you enjoy this tutorial.  If you have any questions or problems then please do not hesitate to contact me using the contact form!

Happy Crocheting!

Alexandra xxxxx

Gorgeous New Yarn From Wendy!!

Hello Everyone!

Sorry its been a while since my last blog.  I promise that it won’t be so long next time (I am aiming to publish a new blog every Monday from now on).  September is a very busy month in our household.  We have lots of Birthdays (everyone but me!), back to school dramas and back to University for me (which I am sooooo looking forward too).

So this weeks blog is going to be about the beautiful new colours that Wendy Yarns have just released!  I have managed to get my hands on them thanks to the lovely people at Thomas B Ramsden Yarn (you can find their website here – http://www.tbramsden.co.uk) and oh my gosh!!!  They really are LOVELY!!  I mean, lets be honest, any parcel that lands on my doorstep that contains yarn makes me squeal and these where no exception.

The first yarns that I got my excited paws on are from their Wendy Purity Merino Cotton Range. They are gorgeous pastel tones and are so soft!20170903_132642

I love pastels and these lovely skeins feel so soft and luxurious.  They are made from 30% wool and 70% cotton.  They come in 50g skeins.

20170903_132852

Shade 5167.  This beautiful blue is definitely my favourite colour.  As a Piscean I am always drawn to colours that remind me of the sea and this is colour is just stunning!

20170903_132842

Shade 5165.  This also reminds me of the sea.  It is a beautiful shade of Coral that will go perfectly with the blue above.

20170903_132829

Shade 5160.  This shade is an amazing cream colour.

20170903_132821

Shade 5166.  This reminds me of a lovely soft Denim.

Next in my parcel of loveliness was this amazingly soft Wendy Stella Chunky and Wendy Aurora yarn.  I don’t know why, but my brain always associates  this colour way of yarn as being really rough and itchy (it must be from some awful childhood jumper that my Mum dressed me in when I was small).  Well, I can categorically report to you all that this is so not the case with these yarns.  They are beautifully soft and come in 100 gram skeins.  This yarn is 100% Acrylic and soooooooooooo soft and cuddly!!! 20170913_130429

20170903_132756

Shade 5100.  This shade incorperates all kinds of greens and light blues.  It really reminds me of the start of Autumn and the leaves beginning to turn.

20170903_132803

Shade 5187.  I love the colours in this combination.  It reminds me of fireworks on Bonfire night.

20170903_132808

Shade 5103.  This is  definitely my favourite colour of this collection.  It is just stunning and is PERFECT for Autumn.  It reminds me of Halloween and Pumpkins.  I think it would make a beautiful hat and scarf set.

20170903_132813.jpg

Shade 5187.  This shade is purples and lilacs and is just stunning.


So, what am I going to make??  I am going to make a baby beanie hat with the Wendy Purity.  I am going to use the sea blue colour and add a cream pom pom and with the Wendy Stella Chunky in shade 5187 (above), I am going to make a little baby jacket.  Check back next week and see how my making went!

Thanks for reading!  Alexandra xxxx

roses