This easy and quick twisted crochet headband is the perfect beginner project, can be worked up quickly and makes the perfect gift.
*Please note that some links in this post may be affiliate links. This means that I may receive a small commission if you purchase via my link at no extra cost to yourself. This small amount allows me to keep this blog up and running.
Crochet along with my video tutorial
Supplies Needed
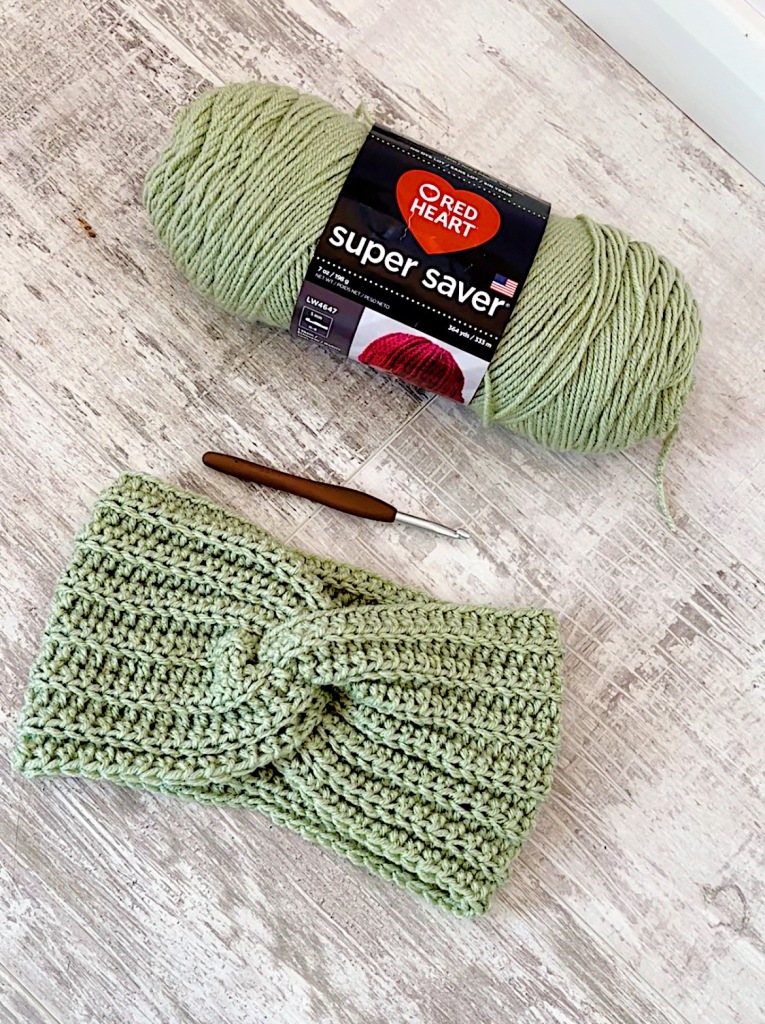
Aran/Medium weight/Size 4 yarn (I used Red Heart Super Saver in light sage)

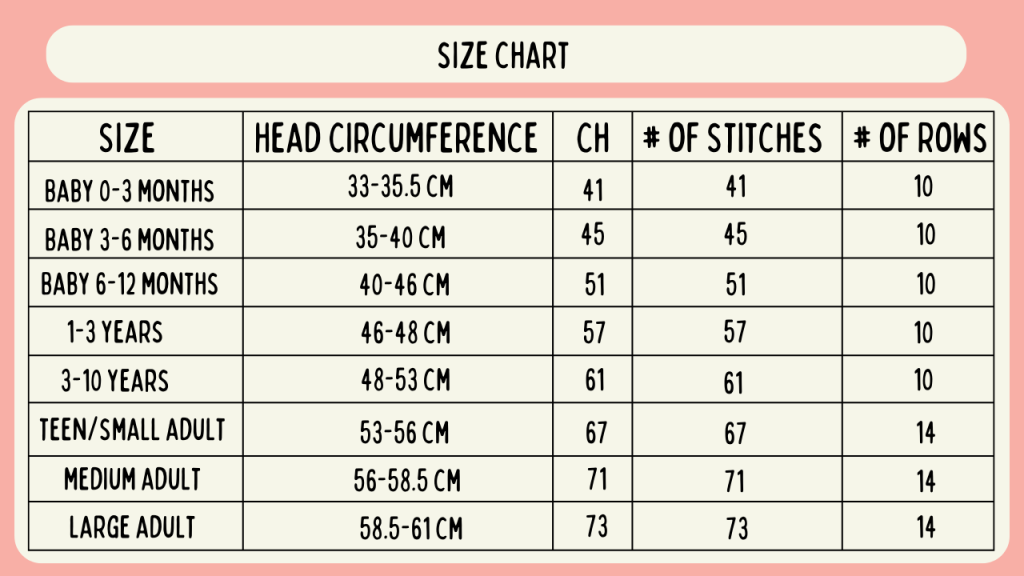
This headband can be made in varying sizes. I have provided you with the number of chains and rows needed in the table below –
To begin chain the stated amount needed for your required size of headband.
Round 1 – HTC into the back bumps of each chain until you reach the end of the chain, turn and chain 1
Round 2 – HTC BLO in each stitch from the previous round until you reach the end, turn chain 1.
Round 3 onwards – repeat round 2 until your headband has reached the required amount of rows as per the above chart OR you have reached your desired width. Fasten off your yarn but leave a long tail as we will be using this to join the headband and to make the twist.
Joining – Fold the headband in half, bringing the two short sides together and keeping the seam on the outside. Interlock the ends so that they fit into one another.
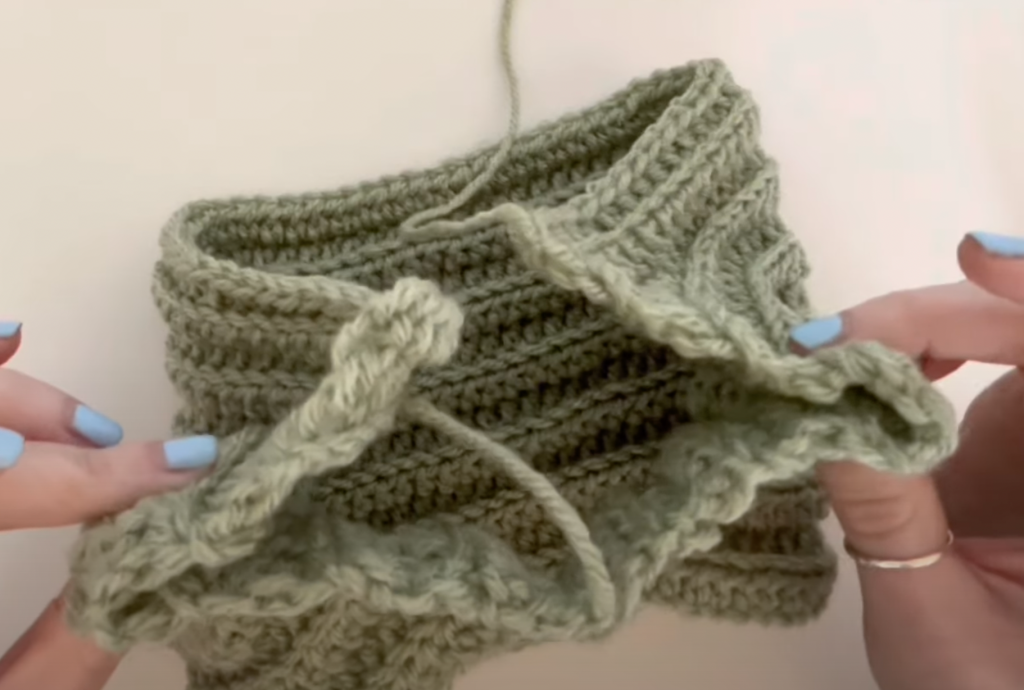
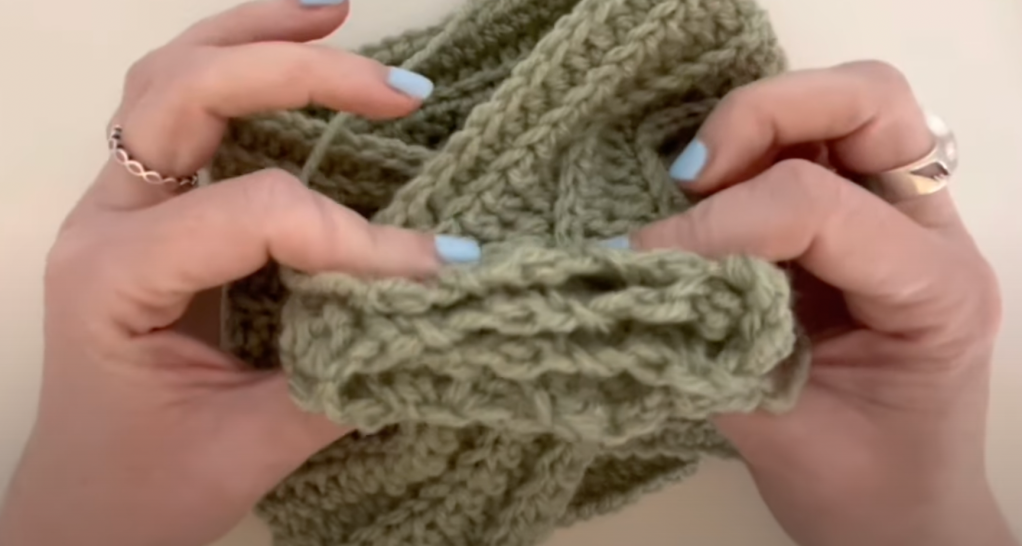
Use your yarn needle and and your long tail to stitch the ends together, making sure to sew into each layer. When you reach the end, secure your yarn and weave in your end. Flip headband right side out and ta-da! You have made a headband!